Blog Post
Developing a Flutter Plugin for Veriff’s Mobile Products
Vivek, a Senior Android Engineer, and Mert, our SDK Team Manager, delve into how Veriff created our custom Flutter plugin for our different mobile products which we offer our clients.
In this post, we will share our experience in developing a custom Flutter plugin for Veriff’s mobile products.
About Flutter and Flutter plugin
Flutter is Google’s UI toolkit for building beautiful, natively compiled applications for mobile, web, desktop, and embedded devices from a single codebase.
Flutter plugins are Dart packages that contain an API written in Dart language which combines multiple platform-specific implementations. Plugins can be written for Android (Kotlin or Java), iOS (Swift or Objective-C), web, macOS, Windows or Linux, or any combination of these.
Flutter package vs Flutter plugin
Flutter packages are modules that contains only Dart code. Flutter plugins on the other hand, are packages with a difference. Plugins contain both Dart and platform specific code (Kotlin, Swift, etc.). You can create a Flutter plugin with the following command:

Please refer to Flutter’s official documentation for more information about creating a Dart package.
File structure
A Flutter plugin structure has these folders:
- lib – contains Flutter code in .dart files
- ios – contains iOS platform code written in Swift or Objective C
- android – contains Android platform code written in Kotlin or Java
- example – an example Flutter app that could demo the usage of the plugin; the example app is optional but highly recommended as per community guidelines
Apart from these folders there will also be some mandatory files like:
- README.md – a readme file with details about the plugin
- pubspec.yaml – a yaml file containing metadata about the plugin, the information in this file will be used while publishing also
- LICENSE – a license text file
Communication between Flutter and native platforms
The Flutter plugin will obviously need to communicate with the corresponding native platform. Instead of using code generation or reflection for communication, Flutter uses a simple message passing through a channel to achieve communication to and from native platforms. You can use a MethodChannel from Flutter side to communicate with the native platforms which could be received using a FlutterMethodChannel in iOS and a MethodChannel in Android. An important thing to note is that even though Flutter sends message calls asynchronously, the channel method invocations must be done in the platform’s main thread.
Alternately if you are comfortable with using only Objective-C for iOS and Java for Android you could also consider using the Flutter package Pigeon for sending structured type-safe messages using code-generation.
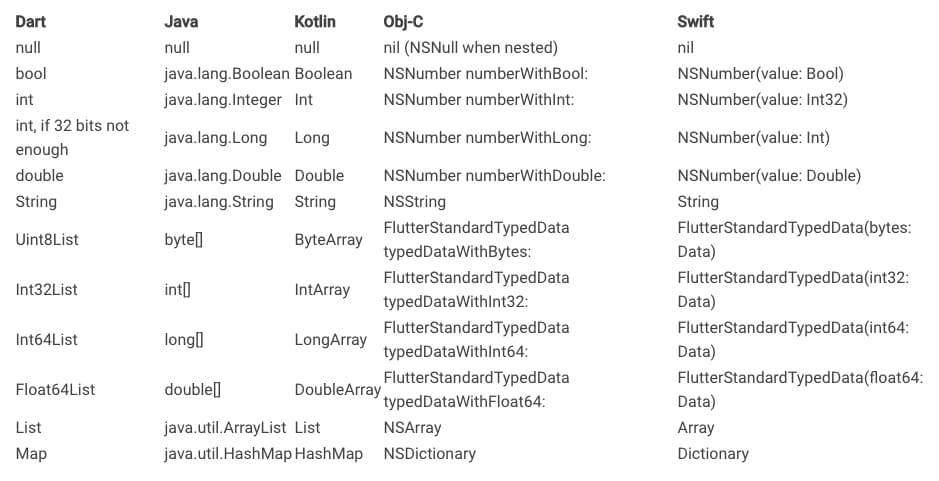
The Flutter MethodChannel uses a standard message codec and efficiently sends simple JSON-like values like int, double, string, list, map etc. The full list of supported types and their respective converted platform types can be found here.
The supported list of data types and their equivalent platform conversion at the time of writing is as below.
Debugging and running Flutter plugin
For debugging purposes Flutter provides tools.
You can use flutter doctor to check all installed tooling for Flutter or flutter analyze -d <DEVICE_ID> to analyze your source code. Keep in mind that you should replace DEVICE_ID with the device’s ID that you are debugging with.
You can run the example app with your plugin by running this command:
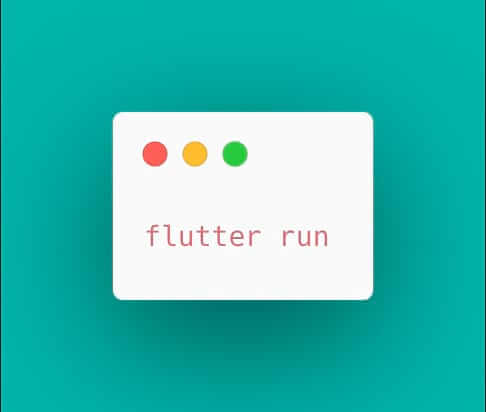
Depending on the type of device (Android/iOS) connected to your computer it will run the corresponding platform version.
Build and publish the plugin
Once your plugin is ready and tested it should be published to pub.dev so that other developers can use it in their projects. Before publishing, you have to make sure that your pubspec.yaml, README.md and CHANGELOG.md files are filled correctly. Some fields to double check in the pubspec.yaml file are:
- name: This will be the name of your plugin that 3rd party developer will be using to install your plugin
- description: A human readable short description about your plugin
- environment: Since Dart 2 was released, the environment value specifies the Dart and Flutter version the plugin depends on, using the sdk and flutter child values
- Detailed descriptions about other fields can be found here
In order to publish the plugin you need a developer account in pub.dev. You can make a personal account or you can make a verified account for a domain. The steps to create a verified account can be found here. Once you have filled in the required extra files and made a developer account you are ready to publish.
IMPORTANT – PUBLISHING IS NON-REVERSIBLE
One important aspect about publishing a plugin is that publishing is non-reversible. This is to make sure that the developers who are depending on your builds do not have to deal with a broken build if you un-publish your plugin. Hence pub.dev policy does not allow un-publishing your plugins.
Since publishing is non-reversible you need to do a dry run of the publish to see that everything is ready for publishing, to check if everything is correct without actually needing to publish. You can do a dry run by running this command:
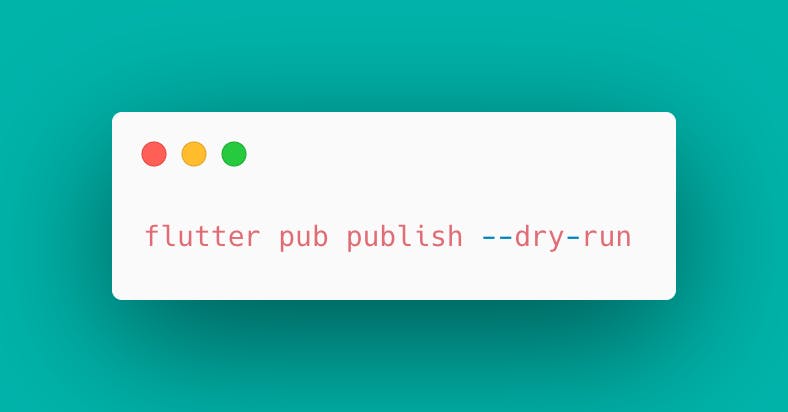
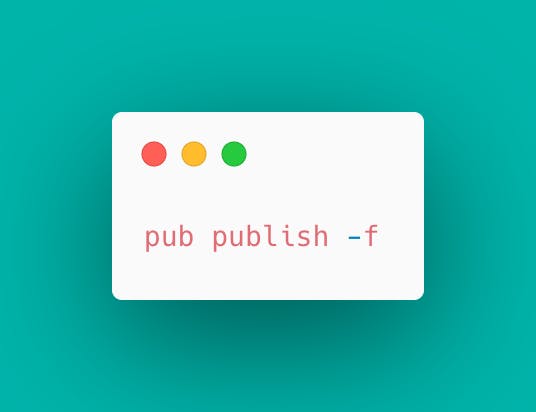
Once you have made a dry run and confirmed everything is correct you can do the actual publishing by running the publish command:
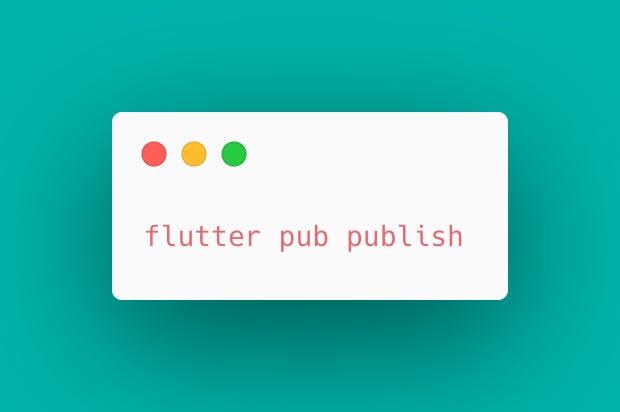
Once you run the publish command flutter will log a link in your terminal to login to your pub.dev account, and you’ll need to click that link and complete authentication via your browser. Once logged in and authorised, your plugin will be published and in 10-20 mins will be accessible for third party developers.
🎉 Congrats you have published your Flutter plugin
Flutter plugin scores
Once you have published your plugin you can see the plugin score it got from the plugin page in pub.dev. The plugin score is computed considering different criteria like documentation, following dart conventions etc. Along with the score, you will also get pointers on how to improve the score. It’s highly recommended that you try to improve your score as much as possible.
Publish plugin automatically
You might want to automate publishing your plugins especially from your CI/CD pipeline. In order to do that you need to create a file in the following path in your CI/CD environment ~/.pub-cache/credentials.json with the following content:

Replace accessToken, refreshToken, tokenEndpoint and expiration with your corresponding values.
You can find the values in the ~/.pub-cache/credentials.json file in your computer after you publish for the first time. And yes, unfortunately this means you have to do the first publish manually from your computer to get them.
Once you have made the credentials.json file in your CI environment you can run the following command from your CI/CD to make the publishing automatically without the prompt to login manually:
Sources
Writers
Vivekanandan A S – Senior Android Engineer
Mert Çelik – SDK Team Manager

